I have set up my Raspberry Pi as a music and file server. My requirements were:

- Big local storage (HD), shared over WiFi
- Local music playing capability, remotely controllable
- AirPlay speaker capability
The means by which I fulfilled the requirements were:
- Platinum 1TB MyDrive and Edimax EW-7711UTn USB wireless adapter
- mpd Music Player Daemon
- shairport AirPort emulator
For the first part, I bought a WiFi adapter, the Edimax EW-7711UTn. This one works out of the box with Raspbian, using WPA encryption (Note:
I switched to a RTL8188 based dongle by now). It identifies itself with
lsusb as:
Bus 001 Device 004: ID 7392:7711 Edimax Technology Co., Ltd EW-7711UTn nLite Wireless Adapter [Ralink RT2870]
This can be easily configured using the wpa_gui tool that comes with the default Raspbian installation. Settings will be saved and restored upon reboot.
Second, I installed samba, samba-common and samba-common-bin for sharing my USB drive. The latter one is a Platinum MyDrive, which is attached to a powered Belkin 7-port USB hub, so that I only need two power supplies. One for the Raspberry Py, and one for the Hub and its attached devices. The MyDrive has been formatted with NTFS, so as to be easily mountable under Linux, OS X and Windows. I mount it using the standard /etc/fstab mechanism. Just added one line to the file:
/dev/sda1 /media/MyDrive ntfs-3g defaults 0 0
The /etc/samba/smb.conf gets in its first iteration only one additional share, a write-for-all public share, as a big file dump:
[BigDump]
comment = Free for all
read only = no
path = /media/MyDrive/FreeForAll
guest ok = yes
Note that literally everybody in your LAN can access this and write to it! You may want to fine tune this…
Now to the
mpd. It is easily installed by doing
apt-get install mpd. When configuring it via /etc/mpd.conf make sure to change the following lines:
music_directory “/media/MyDrive/Music/”
password “MyVeryOwnPassword@read,add,control,admin”bind_to_address “any”
Change the directory and password to your liking. Then restart the service or reboot you device. You can control the mpd using a magnitude of clients. For example
Theremin for OS X or
Mpod for iOS.
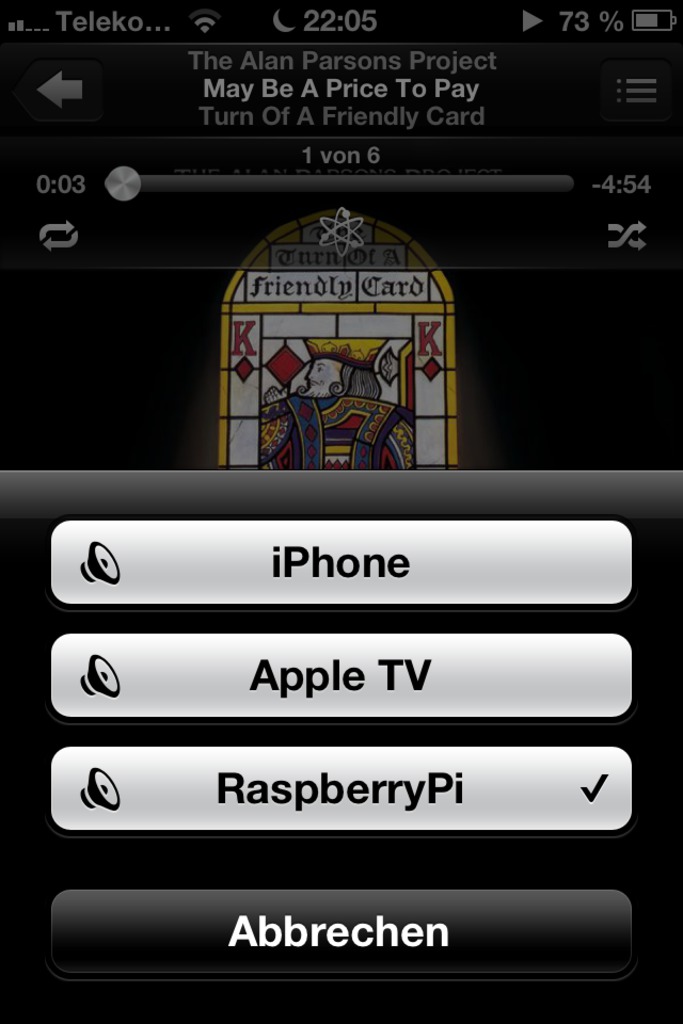
Finally, I would like to be able to use the RasPi as an AirPlay target for my Mac and my iOS devices. This can be done via
shairport. There are already a lot of
good howtos for shairport on the Raspberry Pi. So I refer you to one of those. Two things come to my mind, though:
- The Net::SDP library, required by shairport, is not available on Raspbian by default. It is best to clone the github mirror, and go by its installation instructions. Installation via CPAN fails, plus CPAN needs huge amounts of RAM.
- The configuration needs to be tweaked a bit. The /etc/init.d/shairport script should be tuned to a sensible name for your RasPi.
This way, you will be able to see the RasPi in your AirPlay speakers list and it will be happily churning along.